Have you recently deleted a user profile, only to realize you need to access its files? It can be a frustrating situation to find yourself in, but your files aren’t necessarily lost forever.
Whether deleted by mistake or intentionally, we’re here to help you recover files from a deleted user profile in Windows 10. Better yet—we’ll also show you how you can avoid finding yourself in this situation ever again, using a few simple precautionary measures.
How to manually recover files from a deleted user profile in Windows 10
To recover your files effectively, you need to understand how to manually restore your lost data. However, there are some implications of this type of data recovery solution, which you should be aware of before you start:
Warning: This solution will require you to access your computer’s registry to recover the user account. Editing the Windows Registry file is a task that should be carried-out with extreme care. A corrupted Registry file could leave your device inoperable and require a full re-installation of your operating system, or could result in data loss. Please exercise extreme caution.
The steps we have outlined below are provided as a guidance only, and you should only proceed if you are comfortable. As intimidating as that sounds, don’t worry, we’ll be taking you through the process step-by-step. Nevertheless, take precautions and consider backing up your device.
Step 1: Get the security identifier (SID) for your user profile
The first step will be to find your SID, which will help you to identify the lost files in your computer’s registry.
- Open the Start menu on your desktop and search “cmd”
- Right-click the Command Prompt application and select “Run as administrator”
- In the window that pops up, type “whoami /user” (without the quotation marks) and hit the Enter/Return key
- This will generate a table with your username in the left-hand column, and a security identifier (SID) in the right-hand column
- Take note of your SID, which will be a string of numbers that looks something like this: S-1-5-21-0123456789-0123456789-012345678-0123
Step 2: Access your computer’s Windows Registry file
Once you have your SID, it’s time to head into the registry and use it to locate your missing user profile.
- Open the Start menu on your desktop and search “regedit”
- Hit Enter to open your computer’s Registry Editor
- Navigate to the following folder, opening one folder at a time:
- HKEY_LOCAL_MACHINE\SOFTWARE\Microsoft\Windows NT\CurrentVersion\ProfileList
- Within this folder, you should see the SID of your user profile, which you took note of earlier—it may even appear more than once
Step 3: Recover the deleted Windows user profile and files
Now that we have located the folder containing your missing data, we are ready to start restoring it.
In this section, we will provide two solutions, one for each of the two scenarios you may see in your own folder. Only one of these solutions will be relevant to you.
Be sure to follow the steps closely and double-check that you’ve selected the right file or folder, before taking any actions.
If you see two folders with your SID:
- Look at both folders. You will see that one ends with the file extension “.bak” and one does not.
- Right-click the folder that ends <u>without</u> “.bak” and click Delete
- Click Yes to confirm
- Close the Registry Editor and restart your PC
- Your deleted user account should be back and fully recovered, along with its files
If there is only one folder visible with your SID:
- Find the folder that matches your SID and check if it ends with the “.bak” file extension
- If so, right-click the folder and click Rename
- Remove the characters “.bak” from the file name, including the period, and hit Enter to confirm
- Close the Registry Editor and restart your PC
- Your deleted user account should be back and fully recovered, along with its files
You can now access the previously-deleted user account and make copies of any files you needed to recover.
What to do next: Backup your PC to make account and file recovery easy
It’s safe to say that the steps we’ve outlined above are very technical, and something most of us would only want to attempt in desperate circumstances with no other solution available.
Wouldn’t it be great if there was a way to avoid going through all that effort and stress in the first place?
Well, good news—there is an easier way, thanks to Dropbox Backup.
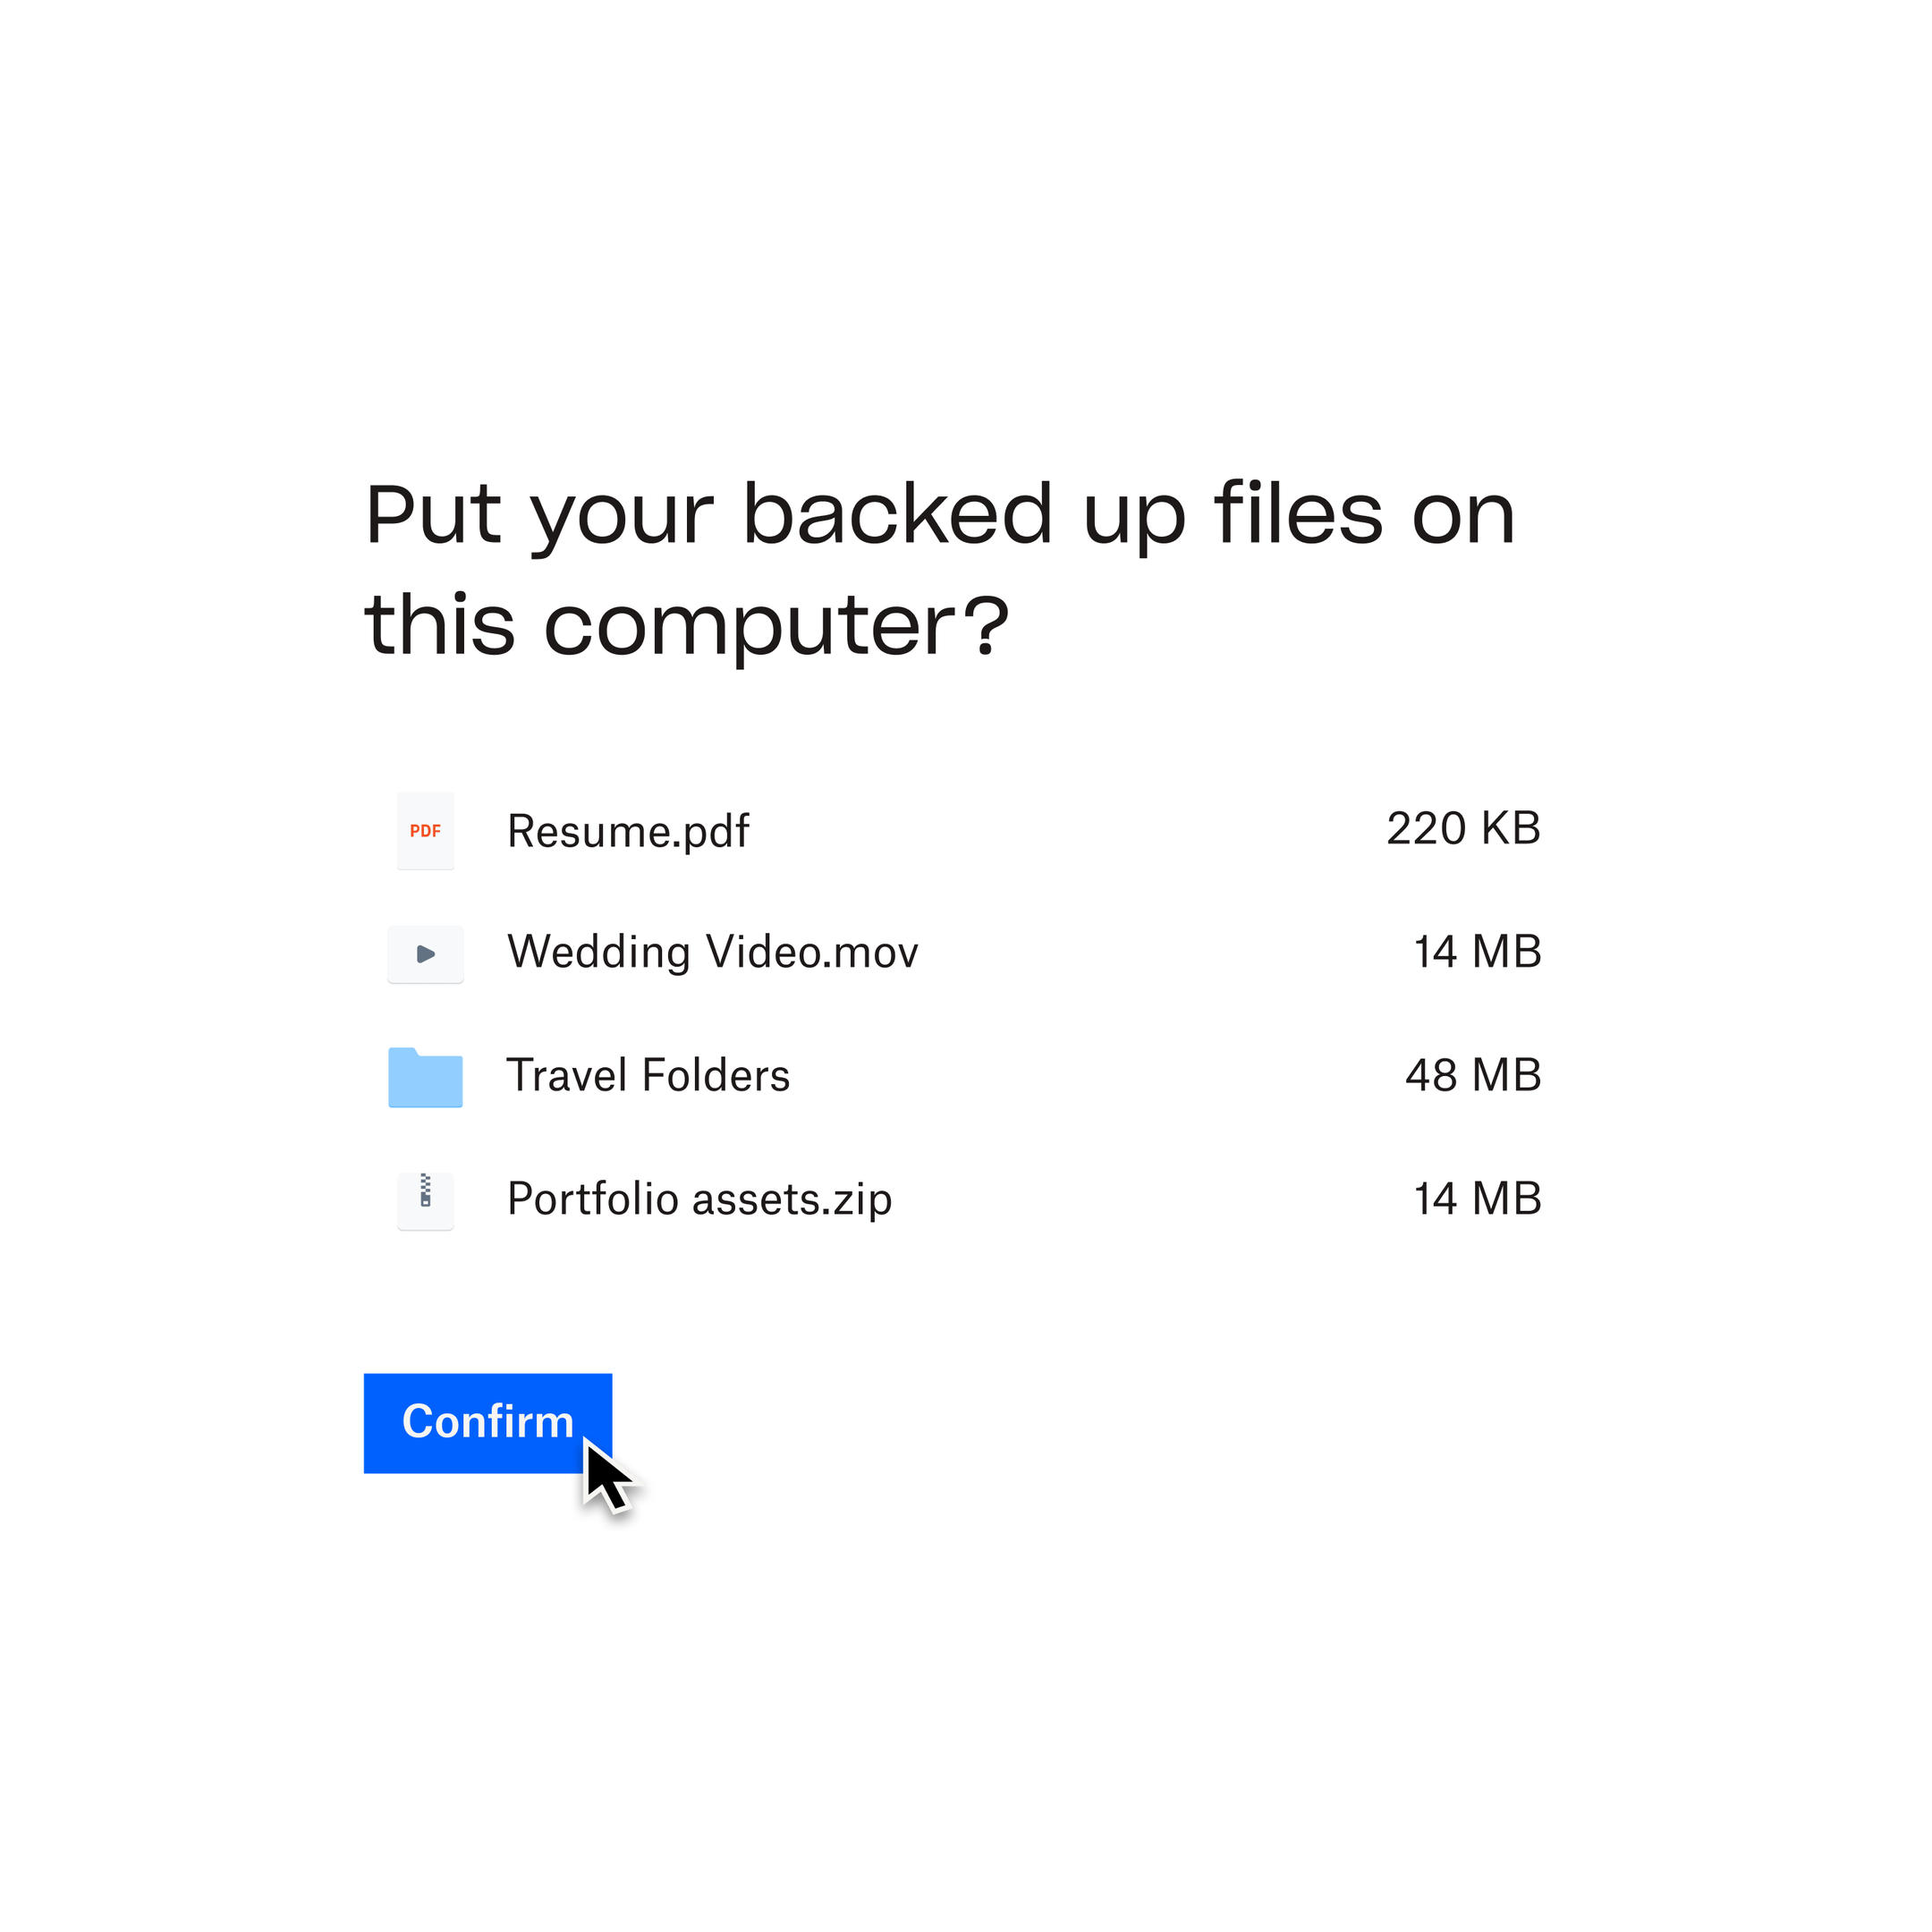
Dropbox Backup is an automatic cloud backup solution, meaning it routinely copies a snapshot of your device, your user accounts, and your data to the cloud. This backup—either in full, or just the parts you need—can then be recovered at any time, in a few clicks.
Because the backup is automatically stored in the cloud, it’s not taking up space on physical hard drives, or requiring you to spend time manually backing up. You can also recover your files and data from anywhere over the internet. In fact, you don’t even need to recover them to the original device.

Protect your user accounts and files today, with Dropbox Backup
Now that you’ve recovered your files from the deleted user account, it’s easy to protect your data with Dropbox Backup.


